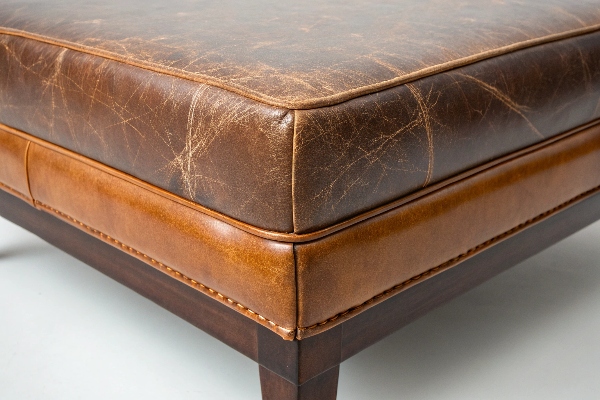
The peeling spots look ugly, clients complain, and replacement feels costly, yet a small kit and some care can bring life back.
Need a quick answer? Yes. Clean the area, apply color-matched repair compound, smooth it, then seal with a flexible finish. The patch hides the damage, stops more flaking, and costs far less than full re-upholstery.
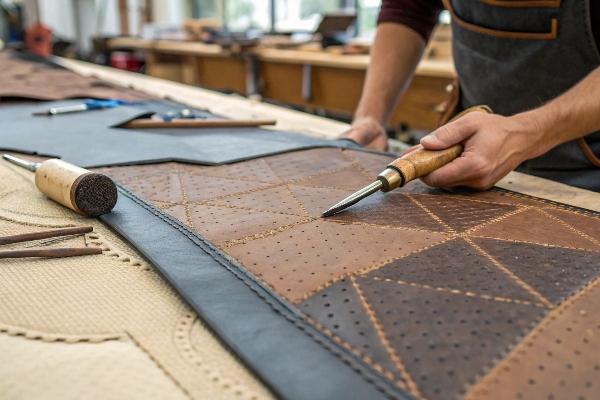
Curious how I learned these tricks? I once lost a key account when chair arms peeled after one season. I promised a fix in a week and kept the project. Let me show the exact steps so you do not repeat my panic.
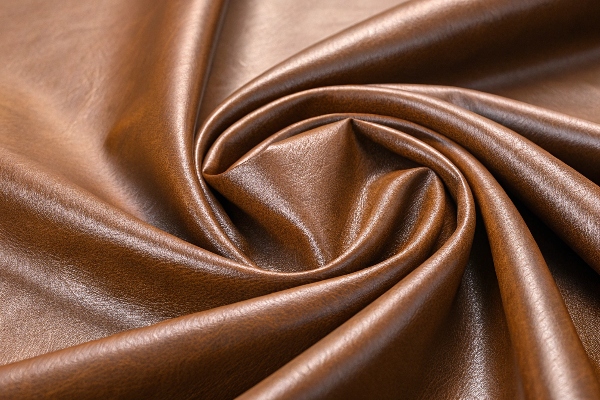
How to repair rubbed off leather?
Fraying edges scare buyers, stain clothes, and cut brand value. A fast, neat plan saves the day and your margin.
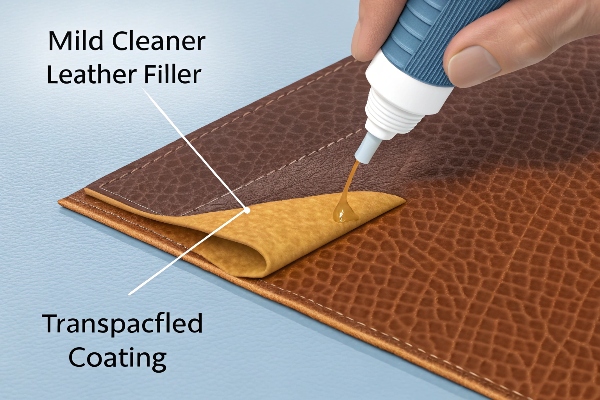
Use gentle cleaners, liquid leather filler, and a flexible clear coat. Follow drying times and thin layers. Results last for years if you avoid strong sunlight and keep it moisturized.
Dive deeper Paragraph:
Step-by-Step Plan
- Clean: Mild soap + microfiber to remove oil.
- Sand: 320-grit to feather edges.
- Fill: Water-based PU compound in thin coats.
- Color: Matching pigment dabbed with sponge.
- Seal: Matte or gloss finish for wear resistance.
| Tool | Why I Use It | Tip |
|---|---|---|
| Microfiber cloth | Lifts dirt without scratching | Work in circles |
| Plastic palette knife | Spreads filler even | Warm filler first |
| Hair dryer | Speeds curing | Low heat only |
I learned to test color on hidden fabric because pigments dry darker. Clients feel reassured when I send a photo of the test patch before full work. The filler must stay flexible; rigid putty cracks in weeks. Keep layers thin. Thick blobs peel fast.
After sealing, wait 24 hours before sitting. That pause prevents imprints and keeps shine even. Add a dab of water-based conditioner monthly to stop future flaking. Simple, steady care stretches product life and cuts warranty claims.
How do you fix scraped fake leather?
A scrape exposes base cloth, collects dirt, and spreads under pressure. Panic rises, yet a deliberate patch blends the scar until no one spots it.
Trim loose fibers, backfill the groove with flexible putty, texture with a grain sheet, and recolor. A 30-minute job can erase last night’s disaster party.
Dive deeper Paragraph:
Materials Needed
| Item | Purpose | Cost Range |
|---|---|---|
| Grain paper | Imprint matching texture | $5 |
| PU filler | Builds lost layer | $8 |
| Acrylic pigment | Restores color | $6 |
Detailed Workflow
Clean first. Loose dirt turns filler gray. Press grain paper on wet filler, hold five seconds, then peel. Heat with a hair dryer to lock grain. Mix pigment 70% base, 30% highlight; brush lightly, feathering edges.
Two thin coats beat one thick coat every time. I once rushed a thick coat; the surface wrinkled like raisin skin. Sanding it set me back an hour. Thinner coats flash dry faster and stay flat. After color, seal with water-based topcoat, dabbing not brushing to avoid streaks.
Let rest overnight. The next morning, run a cloth across. If fibers catch, sand lightly and re-seal. Consistent texture wins praise; buyers touch first, see later. Keep leftover pigment in airtight jar. It stays usable for six months and saves matching effort on future nicks.
How to touch up faux leather?
Small spots appear on headrests and arm tops, hinting at bigger trouble. Quick touch-ups keep the surface uniform and stop complaints before they start.
Dab matching dye, blend with a sponge, then mist a light protector spray. Tiny flaws vanish, and routine touch-ups cost cents instead of dollars.
Dive deeper Paragraph:
Color Matching Tips
| Surface Color | Suggested Pigment Mix |
|---|---|
| Pure black | 100% carbon black |
| Warm beige | 70% yellow oxide + 30% burnt umber |
| Cool gray | 60% white + 40% black |
Clean with alcohol-free wipe. Alcohol dries PU and speeds cracking. Use a soft cosmetic sponge to tap dye outward from center; tapping masks borders. Dry five minutes, then repeat if base still shows.
I always write the exact mix ratio on a label stuck to the bottle. Next season, I skip guessing.For texture, roll a dry foam roller over semi-wet dye. It adds micro bumps that match surrounding grain.
Finish with a light water-based protector; sprays form even sheens and resist fingerprints. Schedule quarterly inspections of high-touch zones.I tie this to my sales follow-up calls; it strengthens partnerships and spots wear early. A 5-minute dab beats a 5-month complaint chain.
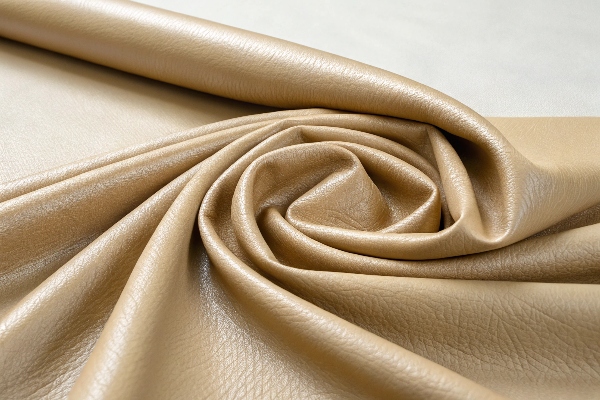
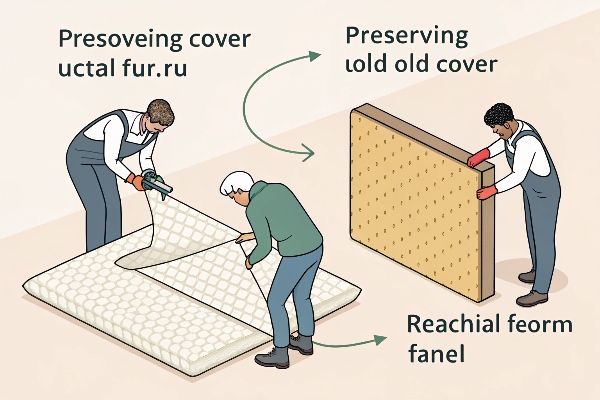
Can you recover faux leather?
When panels peel wide, re-color fails. Clients ask if full recovering is possible without breaking budgets or landfill rules. Good news, yes, and you can still avoid leather.
Strip the old cover, keep foam, measure panels, then re-wrap with upgraded, eco PU. A local upholsterer or small factory handles sewing and stapling within days.
Dive deeper Paragraph:
Recover Checklist
| Task | DIY | Hire |
|---|---|---|
| Remove staples | ✔ | ✔ |
| Pattern tracing | ✔ | ✔ |
| Industrial sewing | ✖ | ✔ |
| Re-stapling | ✔ | ✔ |
Removing the old skin takes patience. Pry staples with a flathead, save fabric pieces as patterns, and label each section. When selecting new material, choose at least 0.9 mm thick PU for seating and ≥200,000 rub Martindale if in public spaces. I recommend water-based PU; it cuts VOCs and meets REACH rules.
Send pattern and yardage to your upholsterer; clear labeling speeds work. Discuss grain direction and seam positions to avoid mismatched shine. For cars, use flame-retardant PU that meets FMVSS-302. After recovering, treat with a UV-block conditioner, especially for sun-exposed interiors.
I once skipped this step on a show unit; the dash faded in two months under the showroom skylight, costing an urgent redo. Proper planning, certified material, and basic care give a second life at half the price of new furniture, while keeping waste out of landfills and aligning with rising ESG goals.
Conclusion
A clean surface, thin flexible layers, and steady care fix peels, hide scrapes, and even allow full recovering, saving money and boosting your product’s life.